During WWI, the Kaiserjägersteig (Sentiero Kaiserjäger in Italian), or Austrian Mountain Troop Trail, served as a transport route for food, ammunition, and supplies to the high-mountain outposts on Lagazuoi. The historic route has since been restored, allowing hikers to follow it from the valley all the way to the summit of Lagazuoi Piccolo (Kleiner Lagazuoi).
The Kaiserjägersteig is a secured hiking trail (Sentiero Attrezzato), sometimes classified as a Grade A via ferrata. I recommend wearing a climbing helmet and gloves. Hikers with limited via ferrata experience should bring a full via ferrata kit.
From the summit, the trail follows a well-maintained path down to Rifugio Lagazuoi. The route then descends to Forcella Lagazuoi and then crosses a lonesome high alpine valley to Forcella de Salares. The final section twists steeply down a gully before climbing again to Passo Valparola.
This day hike is feasible for hikers based in both Cortina d’Ampezzo and Alta Badia.
- Trailhead: Passo Valparola | Google Maps
- Distance: 9.2 km circuit
- Time Needed: 4 hours. It took me 4:30 hours with breaks
- Elevation Gain/Loss: 742 meters
- Difficulty: Difficult
- Lowest Point: 2042 meters
- Highest Point: 2778 meters
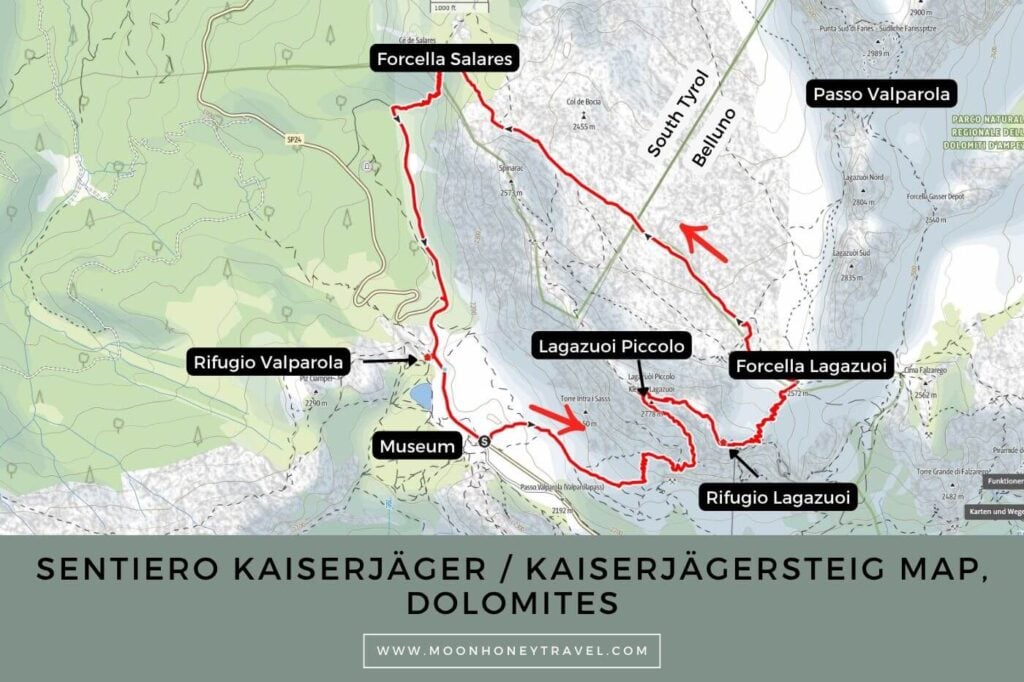
- Route: Passo Valparola – Lagazuoi Piccolo/Kleiner Lagazuoi – Rifugio Lagazuoi – Forcella Lagazuoi – Forcela de Salares – Passo Valparola
- Trails: Kaiserjägersteig, Trails 401, 20, 20A
- Where to Stay in San Cassiano: Ciasa Milandura (3-star apartments), Hotel Steinrösl (3-star hotel), Plang Farmhouse (3-star B&B), Lagacio Mountain Residence (4-star aparthotel), Hotel Diamant (4-star hotel)
- Recommended Itinerary: 10-14 Day Dolomites Itinerary
Sentiero Kaiserjäger Map
Essential Trail Info
How to Get to Valparola Pass by Bus | Take bus 465 from La Villa, or San Cassiano in the direction of Passo Falzarego. Get off at “Valparola Pass.”
Parking near Valparola Pass | There are several roadside car parks near the pass. I parked directly across the trailhead adjacent to the Museo della Grande Guerra “Tre Sassi:” Google Maps. Another option is to park above Lago di Valparola: Google Maps.
Hiking Season | July – September, when the trail is snow-free. I’ve hiked this circuit in both July and August. Surprisingly, I enjoyed my August hiking experience more, because I set out earlier, and saw very few people along the Kaiserjägersteig.
Trail Direction | I recommend ascending Sentiero Kaiserjäger to Lagazuoi Piccolo.
Difficulty | The way to Lagazuoi Piccolo is steep and unrelenting with secured and unsecured scrambling sections (Grade A). Much of the path ascends crumbling terrain. With no one in front of me and the absence of waymarks, I found the wayfinding a bit difficult at times. For that reason, it’s absolutely imperative to only hike this path when it’s snow-free.
Trail Variations | I started the hike at Passo Valparola, because I was based in Alta Badia. If you’re based in Cortina d’Ampezzo, you can start at Passo Falzarego.
Where to Eat | Rifugio Lagazuoi
Responsible Hiking | This trail is located in the protected areas of Parco Naturale Regionale delle Dolomiti d’Ampezzo and Fanes-Sennes-Braies Park. Camping, flying drones, picking flowers, and lighting fires is forbidden.
Sentiero Kaiserjäger Trail Description
Passo Valparola to Lagazuoi Piccolo (1:30 hours)
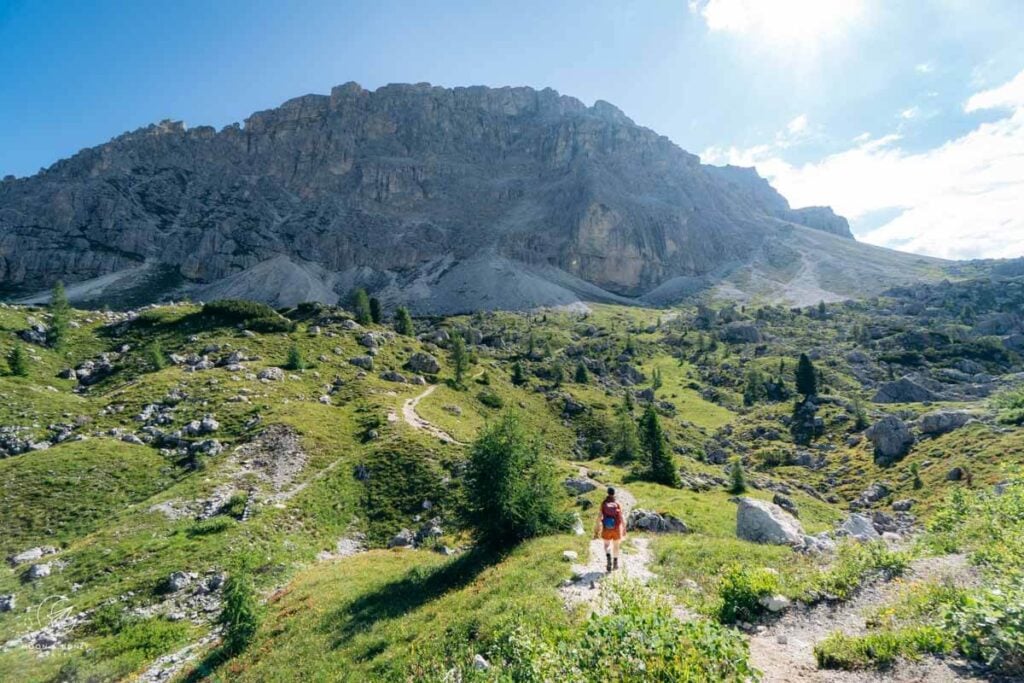
The hiking trail begins directly across from the street from the car park, neighboring Museo della Grande Guerra “Tre Sassi.” There is no signpost or waymark marking the start of the trail. The path gradually ascends northeast before turning southeast, running parallel to the base of the Torre Intra i Sass / Lagazuoi rock wall (2,450 m).
Looking back to the road, you’ll see Setsas and Sas de Stria (Hexenstein).
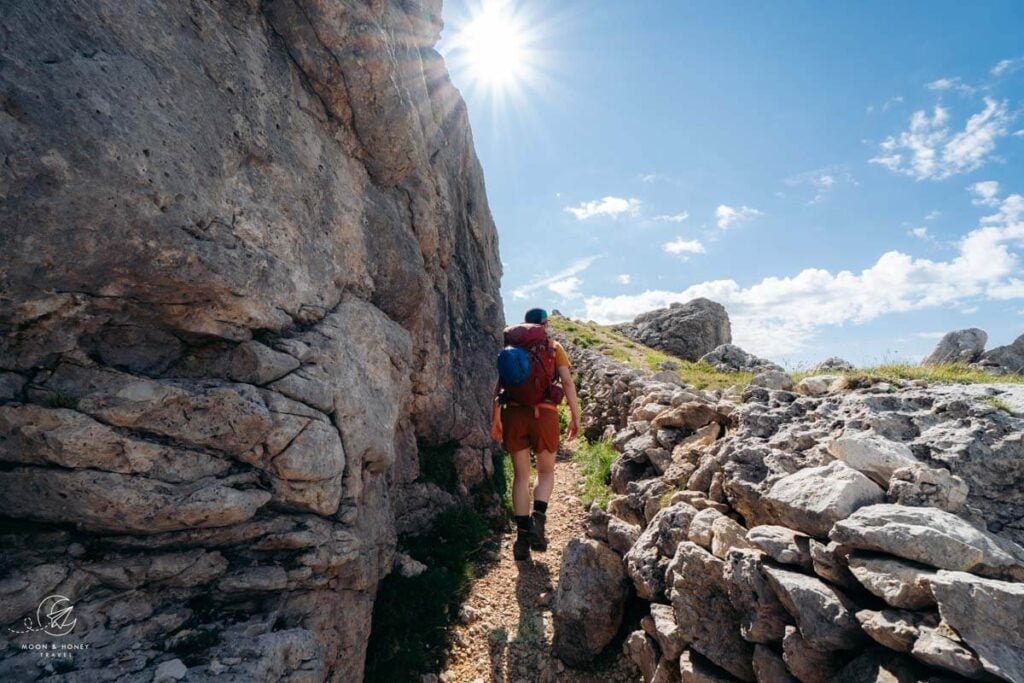
After about 12 minutes, the trail forks. Stay right and pass the WWI ruin. After rounding a massive boulder, the trail climbs and then leads through a very long trench. Averau comes into view ahead.
Just before reaching another boulder, marked by the remains of a now-vanished ruin, the trail veers sharply left. Ascend this path, then turn left again. The trail twists upward to a plaque.
Continue climbing to another junction and plaque, then bear right to remain on the Kaiserjägersteig.
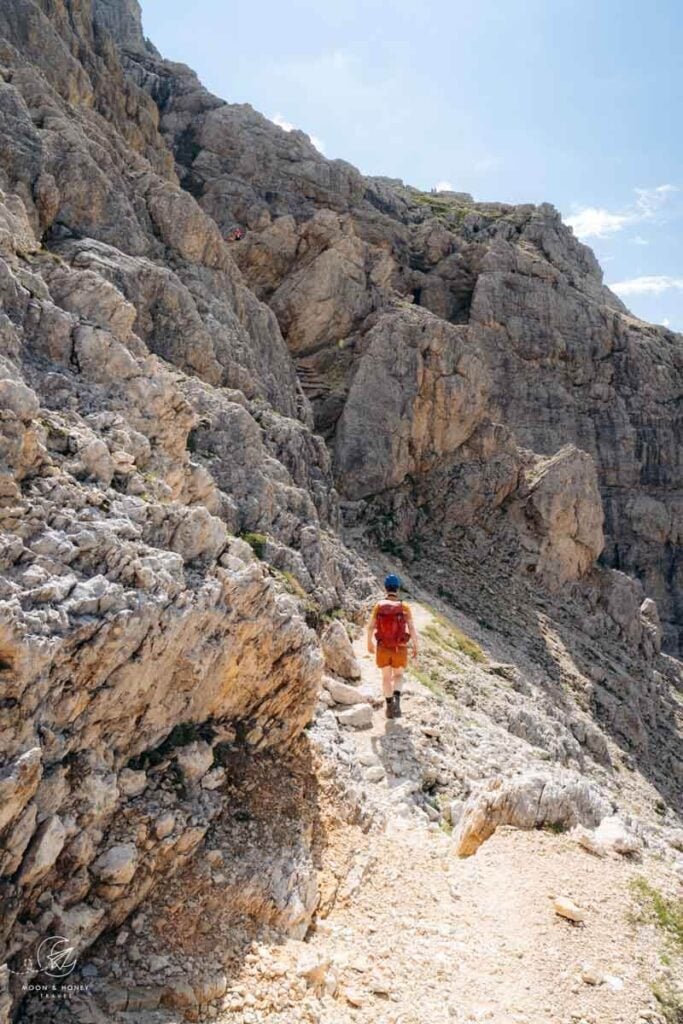
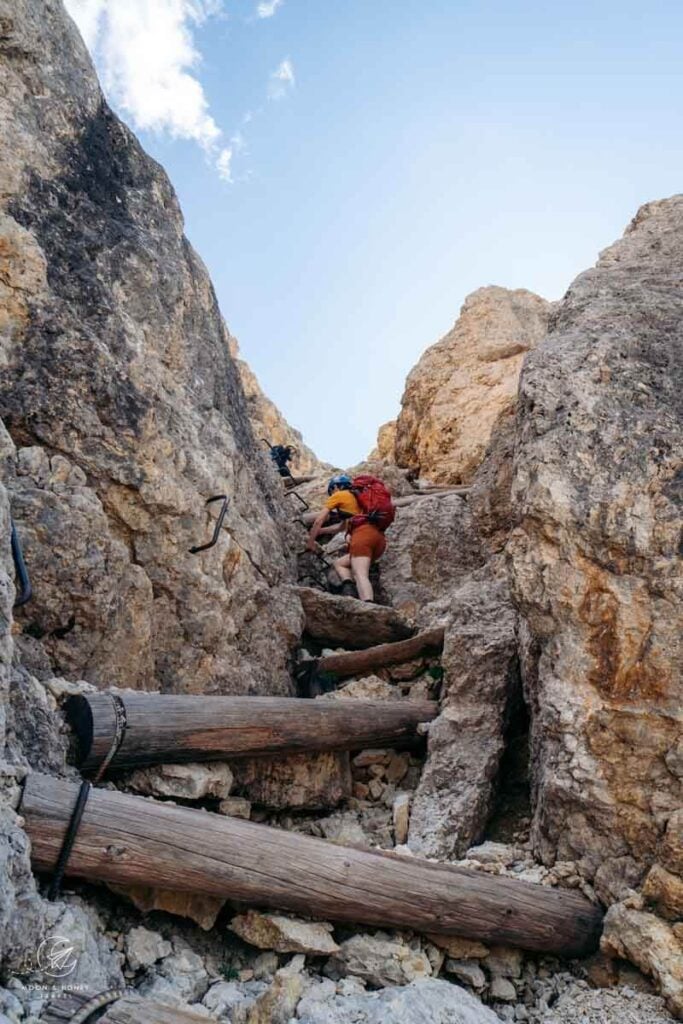
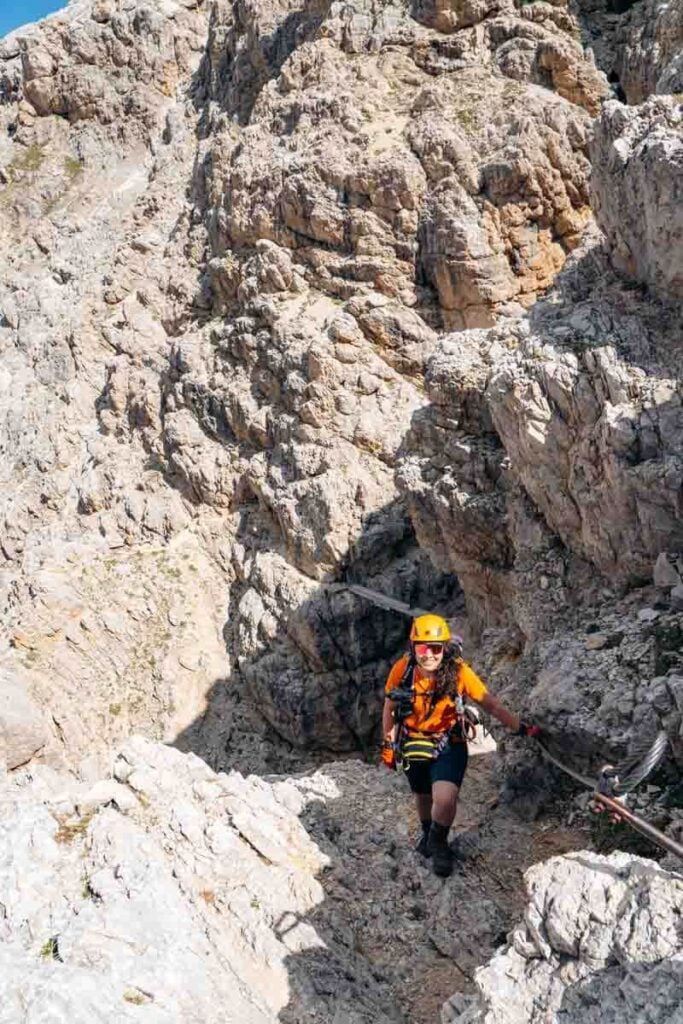
The unrelenting ascent continues. After negotiating a short, eroded, washed-out section, the intact trail resumes and brings you to the ledge that leads to the base of a vertical scrambling section.
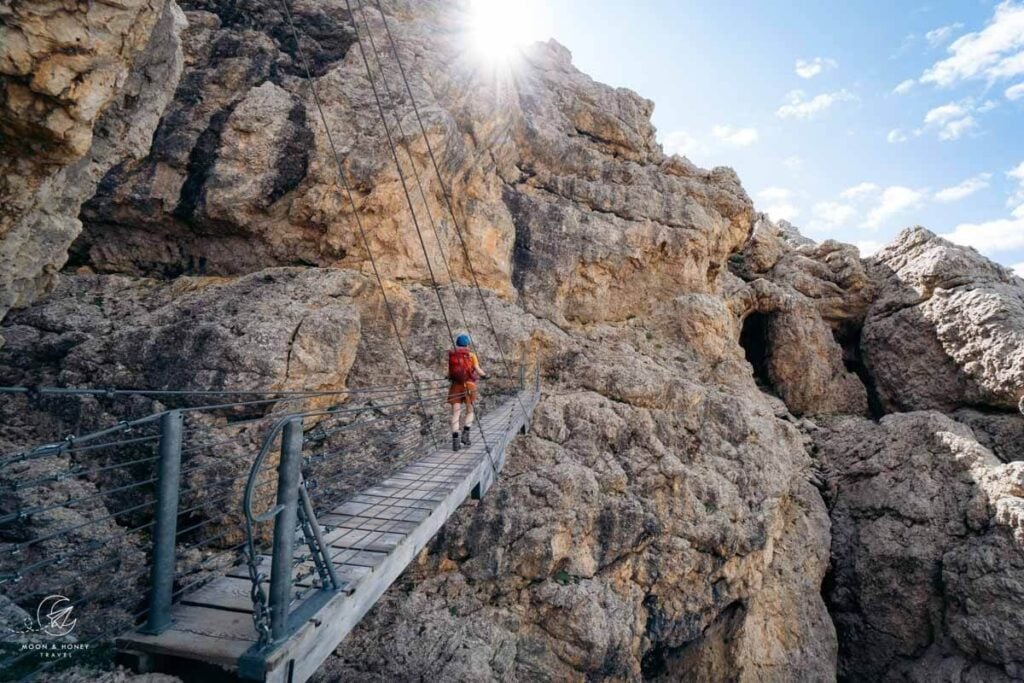
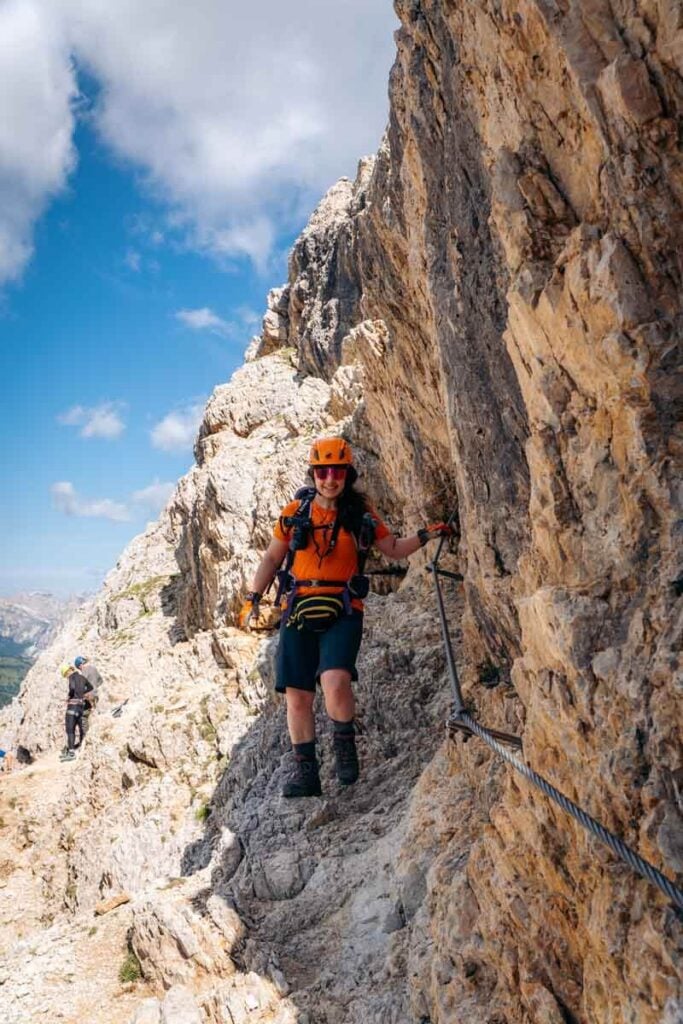
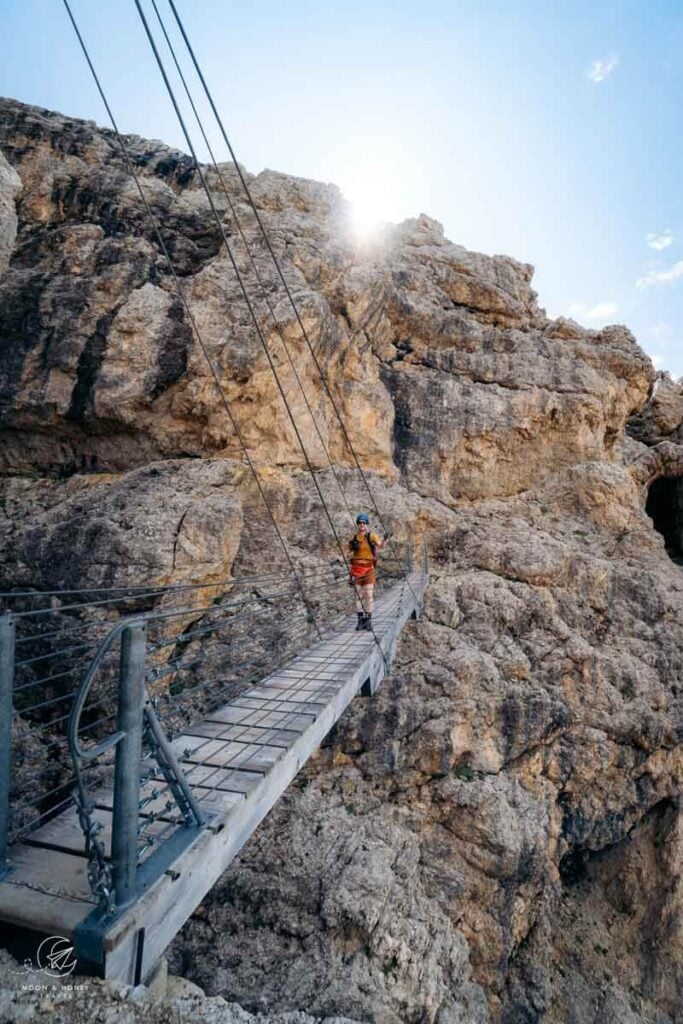
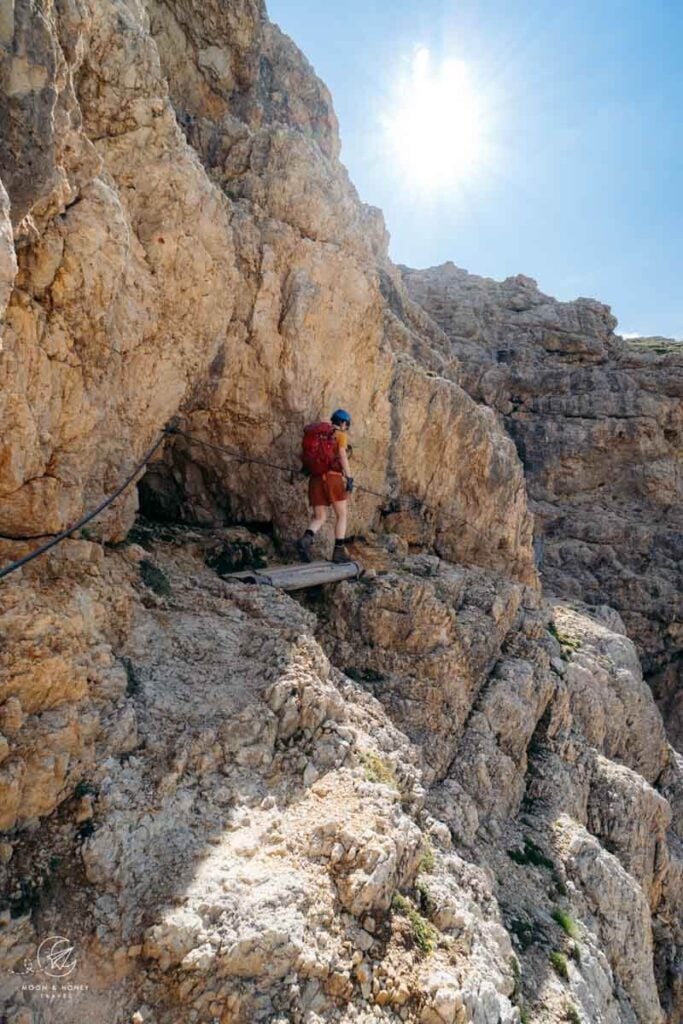
I put on my helmet and gloves at this point. Climb the reinforced path up the gully using the metal rungs. The trail then continues along another secured ledge to a 10-meter-long suspension bridge, spanning a cleft. After crossing the bridge, the secured route, now more exposed, follows the ledge around the mountainside.
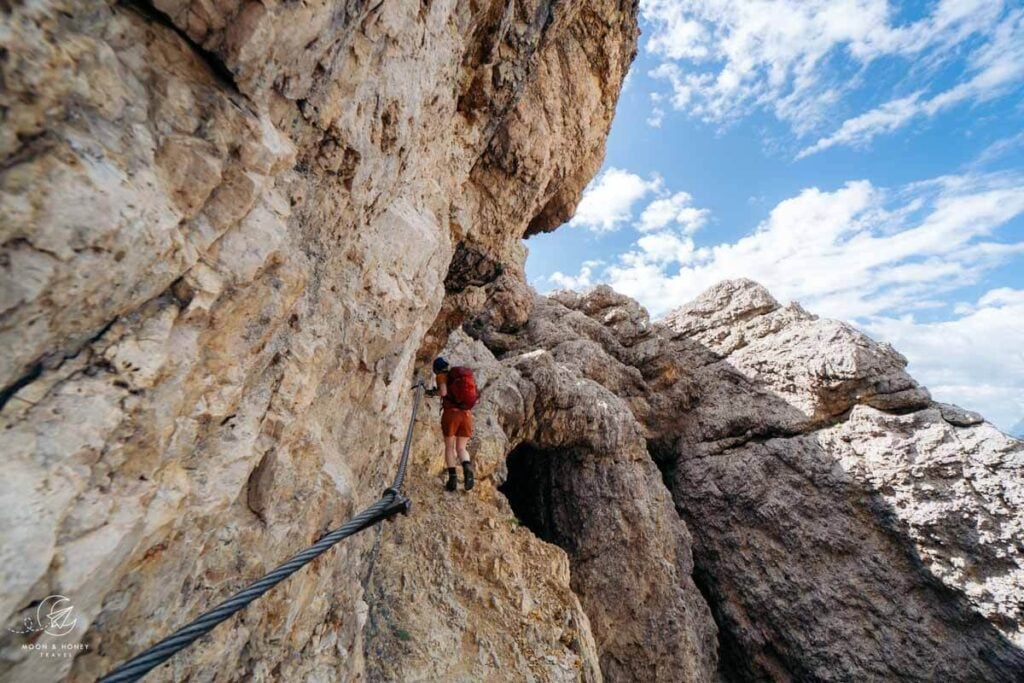
The fixed cables end, and a sign indicates the way to Lagazuoi summit. Ascend the loose, rocky terrain towards the wall. This section can be difficult to follow because the rough terrain makes the actual trail hard to distinguish.
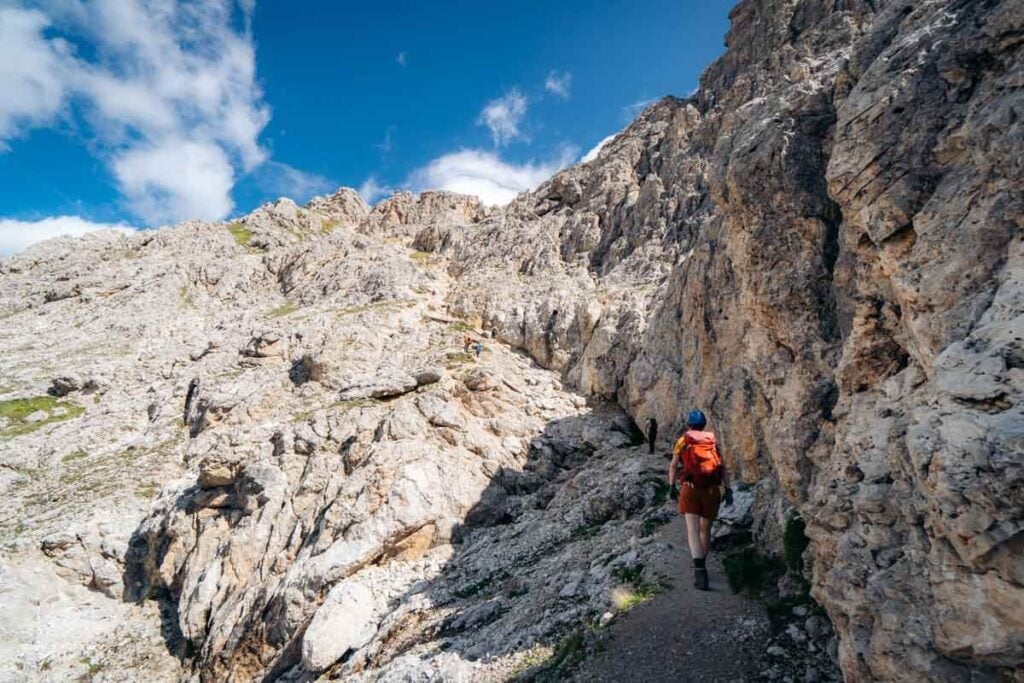
The cables begin again. This stretch is not exposed, but it’s very steep. When the cables end, veer slightly left, moving away from the wall. Soon, the trail becomes easier to follow, marked by timber bolstering. A short wooden ladder leads to a few switchbacks.
The ascent continues, although it is less brutal than the section below. Another secured, exposed section brings you to a high ledge. From here, there is a shortcut to the ridge, or you can follow the official trail around.
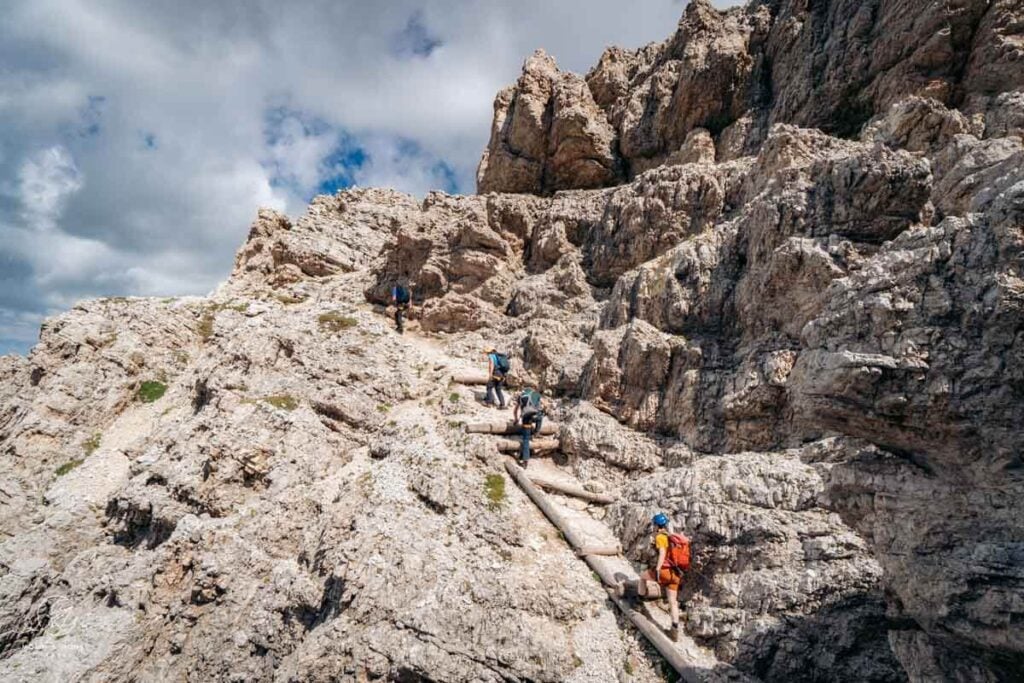
Upon cresting the ridge, you’ll see far more people, since many have ascended via cable car.
From the ridge, follow the path to the summit of Lagazuoi Piccolo (2,778 m).
Lagazuoi Piccolo – Rifugio Lagazuoi – Forcella Lagazuoi (30 minutes)
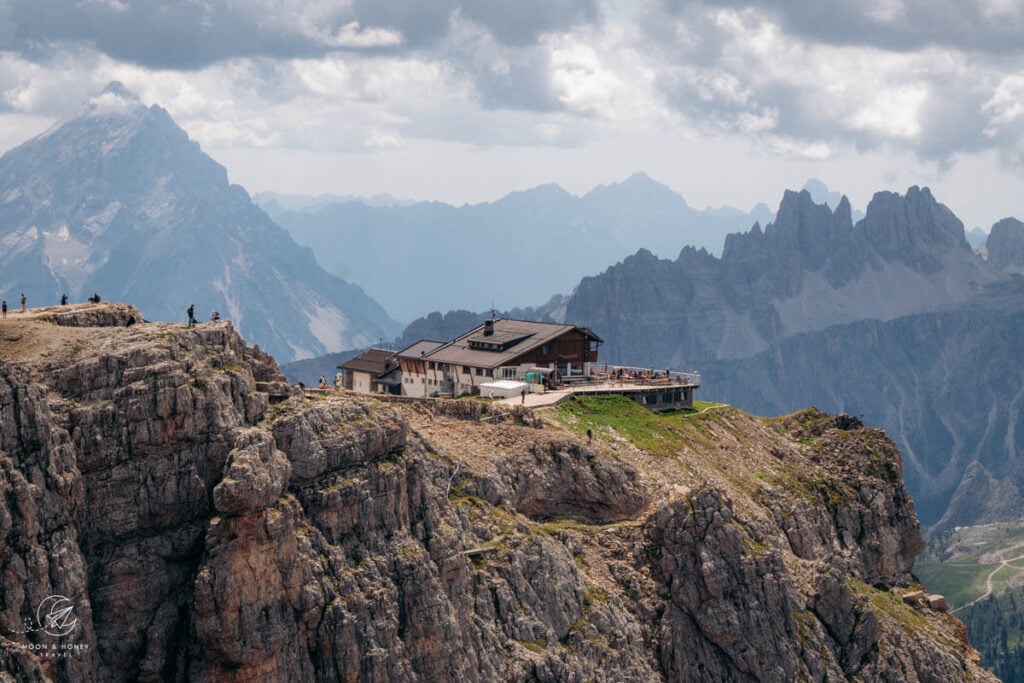
High up on even ground, follow the manicured path down to Rifugio Lagazuoi. Descend the stairs, covered in rubber grip matting, down to the Lagazuoi cable car mountain station.
Following the sign to Forcella Lagazuoi (Trail 401/Alta Via 1), descend the switchback path (“Sentiero del Fronte”), increasingly rough as you lose elevation, to the Lagazuoi saddle (2572 m)
Forcella Lagazuoi to Forcella Salares (1 hour)
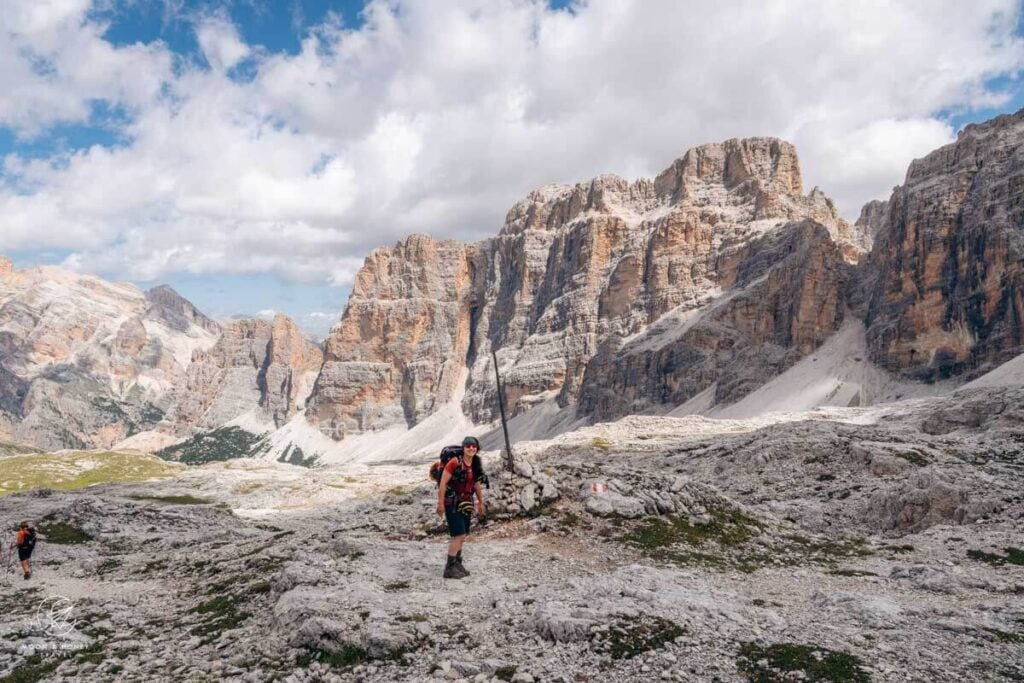
Veer left on trail 20 and soon left again on 20A in the direction of Forcella Salares. The traverse across the quiet high valley between the Spinarac ridge and the Lagazuoi Peaks is well-graded and comfortable. A sign indicated that you’ve crossed into the Fanes-Sennes-Braies Nature Park UNESCO World Heritage Site.
Eventually, you’ll join the famous Armentarola Piste for a few meters, before the trail veers left across a waymarked ledge. Views open up to Val Badia and even the Grande Piano (Le Gran Plan), the edge of Fanes Alp, framed by Piz Tailbun and Piz dla Lech.
Drop down a rocky corridor and traverse the slope to reach Forcela de Salares (2283 m). Keep your eyes out for Edelweiss.
Forcella Salares to Passo Valparola (1 hour)
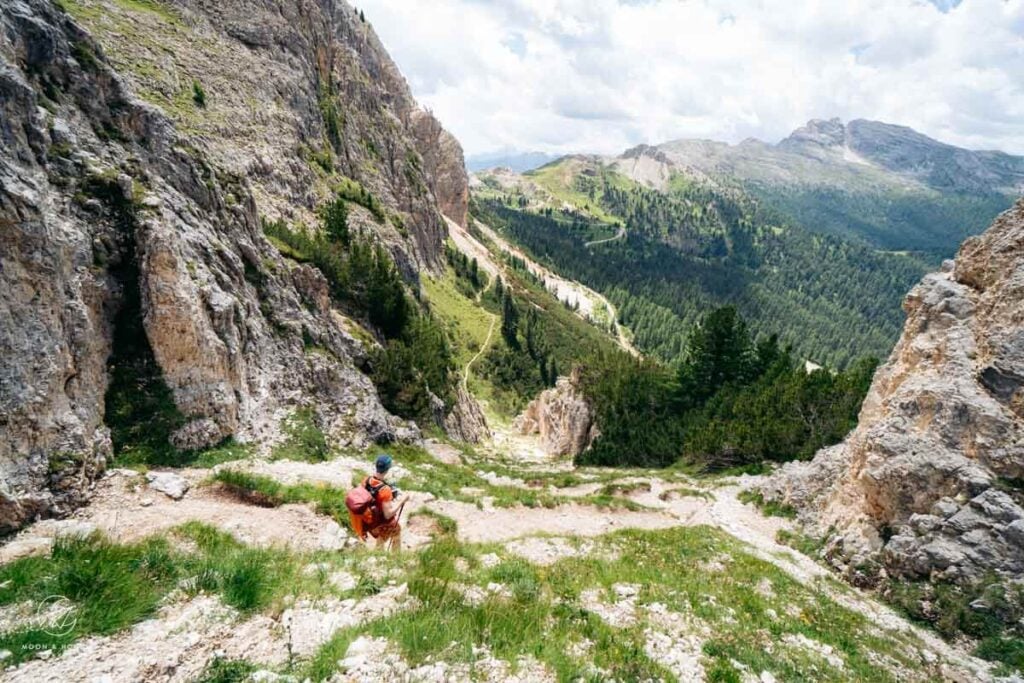
A steep path, still Trail 20A, twists down a gully to a junction. The left upper path leads directly to Passo Valparola. However, this trail is washed out in several places. Honestly, I’m surprised it isn’t officially closed. I followed this direct path. One particular step was tricky for me, and I sat and slid down.
The good news is that there’s another way to Passo Valparola. At the Trail 20A/18B junction, you can go right and follow a lower track (Trail 18B and later a road). I have not personally hiked this trail, but I imagine it’s safer.
When you reach the road leading to Passo Valparola, cautiously cross the street and hike along the road back to the car park, passing Rifugio Valparola along the way.
Where to Stay near Passo Valparola
San Cassiano
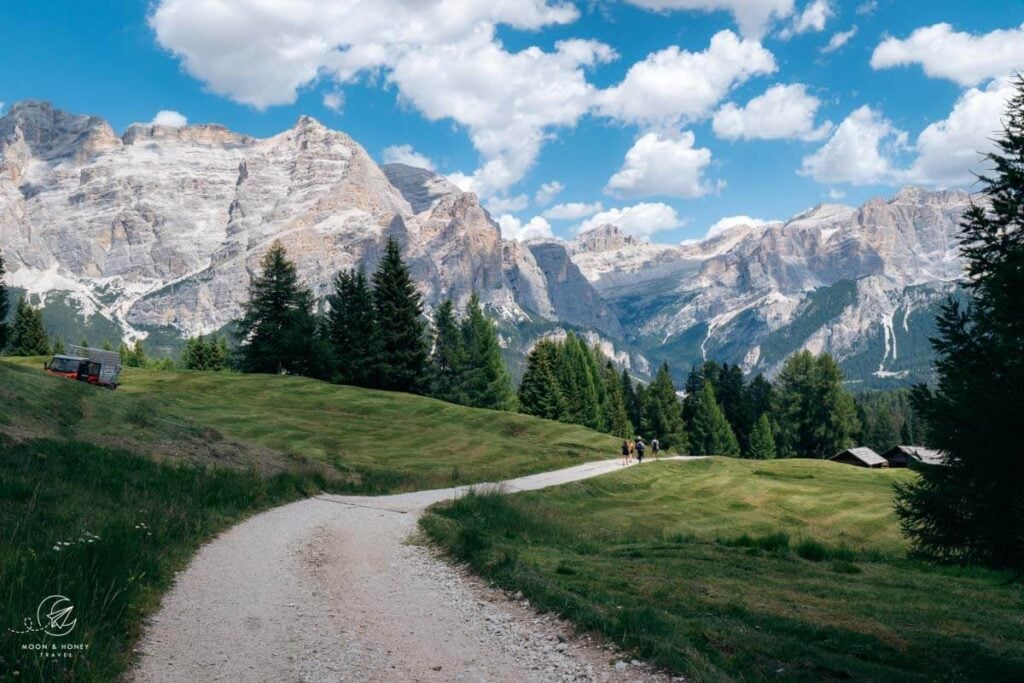
San Cassiano, one of Alta Badia’s six mountain villages, consists of a charming pedestrianized center and the surrounding hamlets of Armentarola, Sciaré (or Saré), Costadedoi, Suracianins, and Rü, nestled between La Villa and Valparola Pass.
If you’re traveling without a car, I recommend staying somewhere central, walking distance to the San Cassiano town center and Surega cable car mountain station. Check out Ciasa Milandura (3-star apartments), Hotel Conturines (3-star hotel), Hotel Steinrösl (3-star hotel), Plang Farmhouse (3-star B&B), Lagacio Mountain Residence (4-star aparthotel), Hotel Diamant (4-star hotel), and Hotel Fanes (5-star hotel).
If you’re traveling with a car, also check out Hotel Ciasa Salares (4-star hotel in Armentarola), B&B – Hotel Ciasa Rü Blanch (3-star hotel), Hotel Ciasa Ai Pini (3-star hotel).
Campers can stay in Camping Sass Dlacia, the highest campsite in the Dolomites.
If you’re visiting San Cassiano in autumn (October or November), I recommend staying in a hotel with an on-site restaurant. Between the summer and winter seasons, many shops and restaurants close, leaving limited dining and shopping options in the village.
Dolomites Travel Guides
Alta Badia:
- Alta Badia Hotels
- Alta Badia Summer Guide
- Alta Badia Autumn Guide
- Störes Meadows, Pralongia Plateau Hike
- Lake Lagazuoi Hike
- Sass da Ciampac Summit Hike
- Rifugio Puez Day Hike
- Lake Pisciadù Day Hike
- Rifugio Fanes Day Hike
- Armentara Meadows Day Hike
- Sass de Putia Circuit Hike
- Path of the Larches
- Gran Cir
Cortina d’Ampezzo:
- Cortina d’Ampezzo Hiking Guide
- Lago di Sorapis Hike
- Croda da Lago Circuit Hike
- Tofana di Roses Circuit Hike
- Passo Giau to Mondeval Hike
- Cadini di Misurina Viewpoint
- Sentiero Bonacossa North Trail
- Cinque Torri and Rifugio Nuvolau Circuit
Dolomites

Pin this Image for Future Trip Planning!
Stay Connected:
Connect with us on Pinterest.
Follow us on Instagram.
Like us on Facebook.
Support Us:
If you love reading my content, you can send me a direct donation.