As a hiker who loves to take photos, it’s critical that my camera gear is lightweight, practical, and suitable for both day hiking and multi-day trekking.
My camera set-up is intentionally simple, so that it doesn’t weigh me down on technical hiking trails and hut-to-hut hikes.
Because I shoot all my photos handheld, I only buy lenses with optical stabilization. A tripod is a nice accessory, but completely impractical for long hours on the trail and intense adventuring.
Personally, I don’t believe that you need expensive camera gear to take great photos. Buy the camera and lenses you can afford and have fun taking photos. Remember that many of the people who are encouraging you to buy expensive gear are brand ambassadors and their content is sponsored.
These are my personal recommendations. This post is not sponsored.
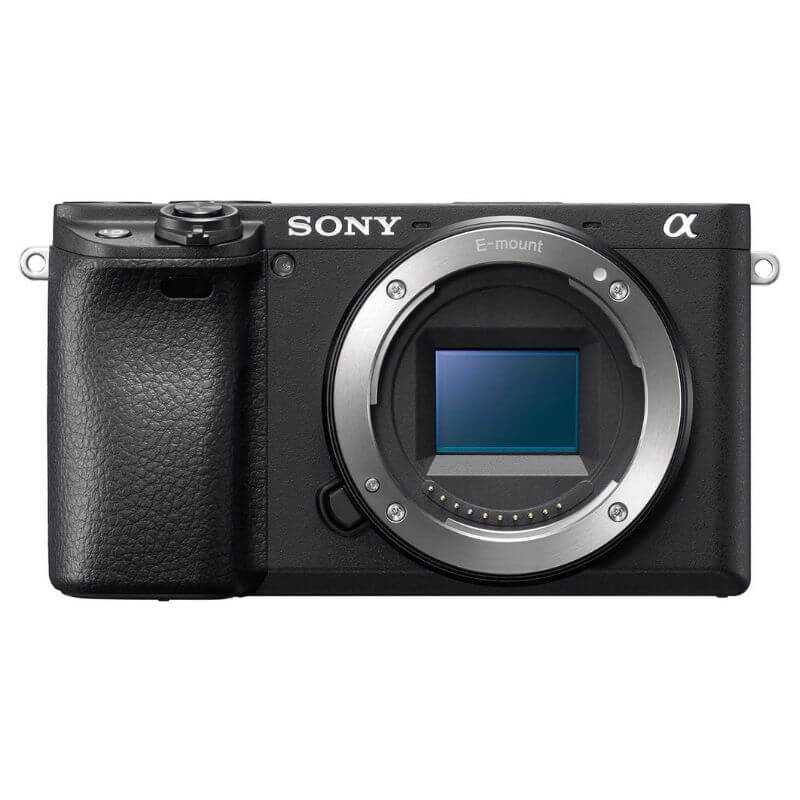
Camera Body: Sony a6400
The Sony a6400 is a mirrorless interchangeable lens camera with an APS-C sensor. I love its compact size, speed, affordability, fast autofocus system, and image quality. It’s perfect for shooting travel and hiking photos, because it’s so lightweight. I know a lot of people who have expensive full-frame cameras, but never bring them on trips, because they’re too heavy.
The main disadvantage of the Sony a6400 is its lack of in-body image stabilization. That means that you must buy e-mount lenses with optical stabilization.

Wide Angle Lens: Sony E 10-18mm F4
A wide-angle lens is essential for capturing expansive scenes like alpine landscapes and historic city centers. Without a wide-angle lens, it’s nearly impossible to capture architectural scenes (e.g. city halls, cathedrals, temples, etc… ) and mountainous scenes in one horizontal frame from a nearby perspective.
Before I had a wide-angle lens, I could only capture such scenes in vertical format, which felt very limiting. For years, I’ve been using this small and lightweight Sony E 10-18mm F4 OSS Wide-angle Zoom Lens, which comes with optical stabilization, ensuring that I can shoot handheld with my Sony E-mount mirrorless camera with an APS-C sensor.

Mid-range Zoom Lens: Tamron 17-70mm 2.8 Di III-A VC RXD
I shoot 50% of all my photos with this sharp, mid-range Tamron 17-70mm zoom lens. It’s perfect for portraits, outdoor photography including both landscapes and macro shots of flowers, plants, etc… It has optical stabilization, which is necessary for shooting handheld with the Sony a6400, or any sony mirrorless camera that doesn’t have in-body image stabilization. The main disadvantage of this lens is its large size. If you use a Backpack Camera Clip, then this isn’t a problem. But, if you wear your camera around your neck, it will hurt!

Peak Design Camera Clip
The unisex Peak Design Camera Clip is my most prized piece of gear as a hiking photographer.
This is the safest and healthiest way to carry a camera while you’re hiking. Simply screw the clip onto your backpack strap and unclip whenever you want to take a photo.
Say goodbye to neck pain and a swinging camera around your neck!

Camera Bag
I own a few different camera bags similar to this Pakvoke camera bag and Bagsmart camera bag. For day hiking and road trips, I generally use a larger camera bag, so I can bring an extra lens. In addition to the camera and lenses, I always pack extra batteries, lens caps, SD cards, and cleaning supplies in my camera bag.

Sensor Cleaning Kit
When I switch between lenses, the sensor of my mirrorless camera is exposed to air and thus susceptible to dust. Usually, a compressed air blower tool is effective in getting rid of the dust. However, if that doesn’t work, I clean the sensor with a lens swab and cleaner. I always pack 2 swabs along with the cleaner liquid in my camera bag when traveling.

Hiking Backpack: Osprey Tempest / Talon
I don’t recommend buying a camera backpack, but rather a hiking backpack. I love Osprey packs because of their overall comfort, stow-on-the-go hiking pole system, and hipbelts.
The women’s Osprey Tempest is our favorite backpack for day hiking and 2-day hut hikes. The backpack is available in multiple sizes, but we recommend buying the larger 34L backpack, so you have sufficient room for your camera bag as well as extra layers, snacks, gear, and even via ferrata kit if needed.
Men’s version: Osprey Talon 33L.
Bonus Tips for Hiking Photographers
Tip 1 | Always carry an extra lens cap for every lens in your camera bag. I’ve lost lens caps on cliffs, where retrieval is impossible.
Tip 2 | Protect your lenses from the elements with a UV protection filter. Though there’s no guarantee that the filter will safeguard your lens from a fall, it will protect the glass from dust, sand, and other elements. After purchasing my Tamron 17-70mm zoom lens, I immediately screwed on the Filter Hoya Fusion ONE Next UV 67mm filter and I have never removed it.
More Hiking Guides
Hiking Gear:
Hiking Trails:
Regional Hiking Guides:


Pin this Image for Future Trip Planning!
Stay Connected:
Connect with us on Pinterest.
Follow us on Instagram.
Support Us:
If you love reading our content, you can send us a donation via Ko-Fi.